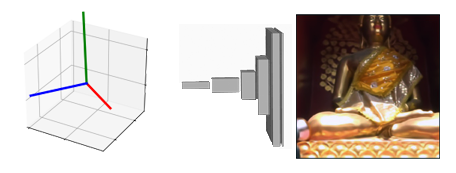
One question which I ask myself when evaluating GAN and machine learning approaches to image generation is, “Can it work at high res?”. With some ok looking results from my first attempts at “Reverse Matchmoving” in hand, I decided to spend some time exploring just this topic. The goal would be to modify the network I have to be able to get a decent looking result at 512×512 resolution, with hopes that the same methodology could eventually be used to put this into production at 2k. In case you haven’t read “Reverse Matchmove Gan”, it’s a project to convert camera transform matrices into images, it would be a good idea to go back and read it before reading this post.
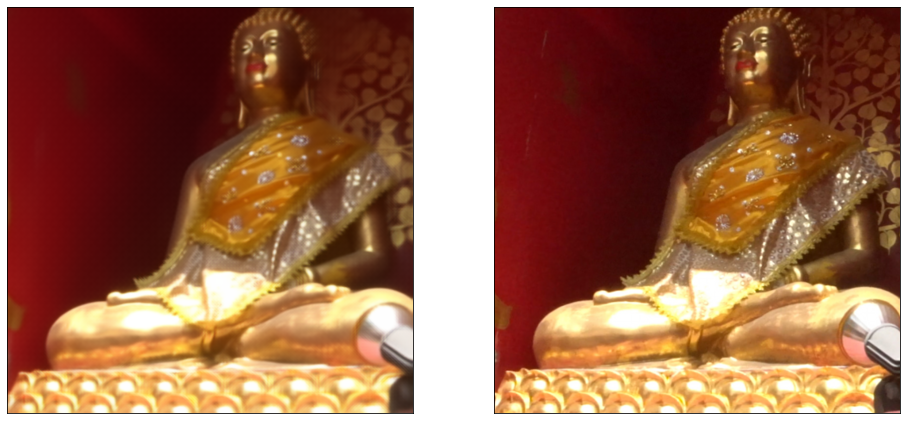
Where we left off, our network relied on a standard VGG19 for perceptual loss and could produce a slightly blurry result. You could roughly say that our loss function could detect sixty percent of the differences between real and fake images, but what to do about that other forty percent?
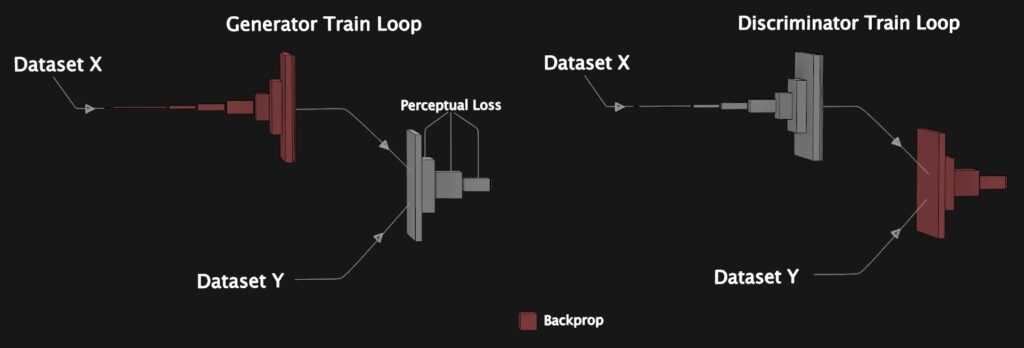
Could we use another pre-trained network with a different architecture or one that was trained with a different dataset to detect the details this one missed? Now if you’re already familiar with GANs you know where this is going, but for those who aren’t, this is where we introduce the discriminator. The job of the discriminator is to actively learn a brand new set of filters which can detect differences between the fake and real images, customized specifically to this dataset. So instead of guessing and hoping about what can fill in that forty percent, we learn it. This will mean two alternating stages of training; showing the discriminator both a real and fake image and then updating its weights based on the accuracy of its guess, and then generating a fake image and using the discriminators score to update the generators weights.

In a traditional DC Gan, you might simply ask the discriminator to evaluate how real the generated image looks and then perform backpropagation based on this score, however, in this case, that approach doesn’t do us any good. The reason is that the discriminator alone just learns what feels right and wrong, it has no motivation to match the ground truth image exactly, so it might sharpen an edge or move a detail in a way which has no relation to what our ground truth looks like. Instead of using the discriminator in the traditional way, an alternative is to show it both the fake and real image and then measure the difference between real and fake activations to create a learned perceptual loss. This is similar to what we did in the VGG network, except evolving during training as the generated images improve. The authors of the paper “Pix2PixHD” employ this same technique to help them get more fidelity in their high-resolution images.
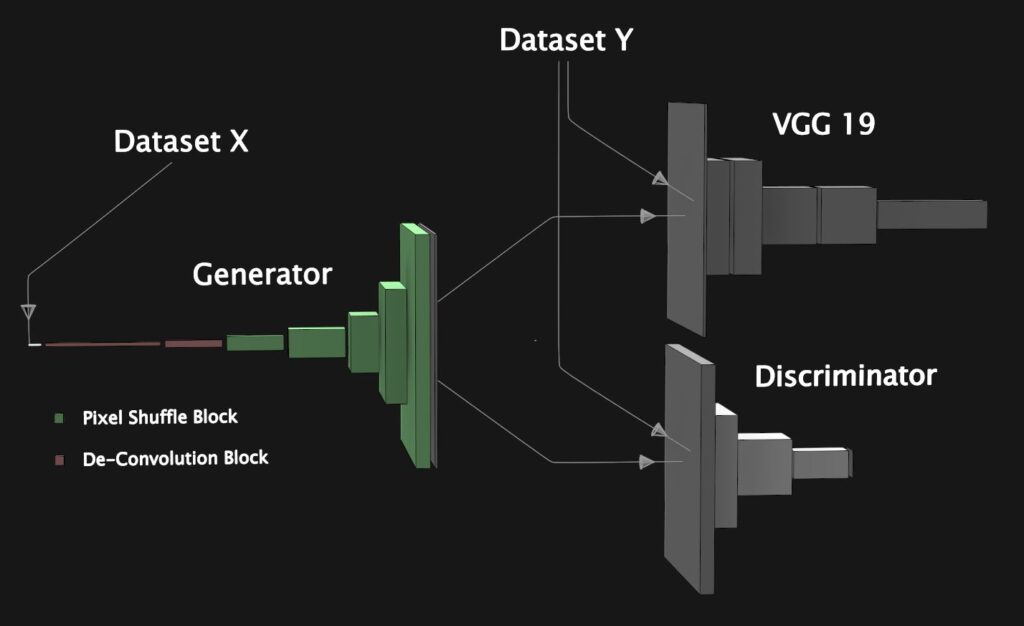
Over the past couple of years, Least Squares and Wasserstein Distance have been widely used loss functions for training GANs, these can prevent over-saturating gradients by employing what’s called the Lipschitz constraint. In order to maintain the Lipschitz constraint, Wasserstein loss uses weight clipping whereas Least Squares loss uses weight decay, unfortunately, these can be difficult to tune and often take a bit of tinkering to get right. Earlier this year a paper called “Spectral Normalization for Generative Adversarial Networks” became quite popular by suggesting a much simpler way to accomplish the same thing. By replacing batch normalization with spectral normalization in your discriminator and using either a Hinge or Wasserstein loss function, weight clipping or weight decay are no longer needed. This sounded too good to be true, but I blocked out a couple hours to run a comparison anyway. Looking at the visual result after a couple epochs I was sold, as I’ve continued with further experiments I’ve been impressed with how smoothly it keeps performing.
After letting this network churn for about five days straight, here are the results of the effort:
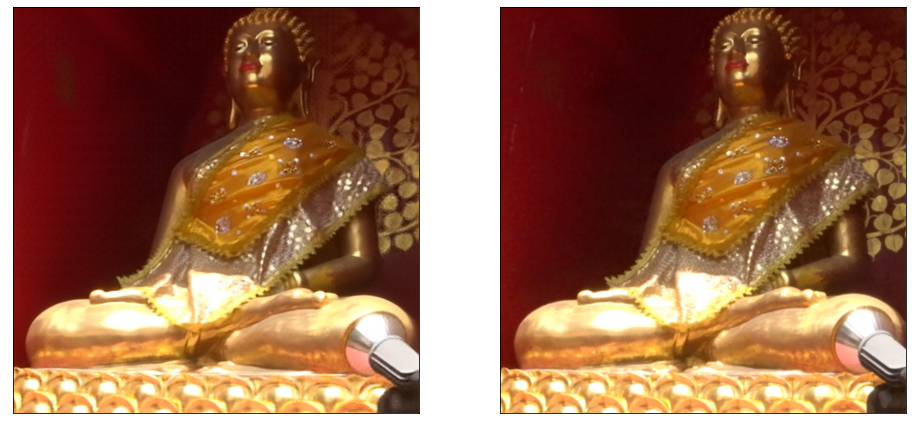
Also here is a little video clip I put together, it includes the ground truth video from the test set, a generated video based on test set camera matrices, and also two videos generated from paths animated in Maya.
Now even though the result is more detailed than before, there’s obviously still room for improvement. The focus of this round of tests has been mainly to evaluate what adding a discriminator to my model can do to improve the result, and the best way to go about adding it. Given the time, I’m hoping to test more modifications to this network, like adding attention blocks and spectral normalization to the generator or removing the VGG19 perceptual loss to see if it’s still needed.
Anyhow, for anyone who is interested to build their first GAN, I hope that this post can give you some insights which might be harder to find otherwise!
-NeuralVFX


